Besides facilitating communications, Microsoft Teams supports the establishment of a unified hub for the company’s data. With SharePoint and OneDrive acting as the backbone of the collaboration system, organizing data flow and storage is one of Microsoft Team’s core capabilities.
In addition to synching their local drives, users rely on Microsoft Teams to create and share files with other team members. However, sometimes moving files or entire folders is necessary for the continuity of the work. As normal as this functionality is while working on local drives, it stands out when implemented in a cloud-based shared storage. Microsoft Teams enables moving files and folders within the same team or across different teams in the same environment.
This article will introduce moving files and folders, sharing options, and the practical steps to achieve that in Microsoft Teams.
Why do Teams users need to move files and folders?
Microsoft Teams offers a dedicated cloud-based solution to store and share data. It’s an efficient way to avoid endless back and forth emails while collaborating on a single task.
Let’s take a real estate agency as an example; the sales team got a new property under contract. Therefore, the legal department needs to finalize the terms with the seller. The traditional way was to send tons of emails and copy all concerned parties.
However, if the company uses Microsoft Teams for collaboration purposes, they can easily create a shared folder for that specific deal. All related due diligence files can be stored in that folder, including the contract. Moreover, different team members and guests can co-work on editing the contract in real-time.
A year later, the same property was wholesaled to a new buyer, and all relevant files had to be moved to a different team on Microsoft Teams. Instead of downloading everything to a local drive and uploading a new version again, a simple move action can transfer the entire folder with all files inside to a new destination.
The difference between Move To and Copy To
Besides the Move To option, Teams and SharePoint also offer the Copy To option, which will keep the original file in place and create a copy in the new location. However, when using Move To, SharePoint will preserve the document’s history and move it with the document, but a new copy will be created with no history when using Copy To.
How to move files and folders in Microsoft Teams
Every channel on Microsoft Teams has its own storage that team members can access according to their permissions. The Files tab in every channel is the gate to the data shared on that channel.
To move files directly within Teams, follow these steps:
- Select the file you want to move and select More Options […]
- Choose Move to and from the new window select where you want to move the file.
- Click on the team/channel where you want to move it and select Move and you’re all done!
You can do the same for folders and even multiple files at once. You can move files to any channel, be that standard, private or shared.
Moving files and folders via SharePoint
You can also use SharePoint to move around your files in Teams. You can go directly to SharePoint from your browser or alternatively, click on the files you want to move from the channel, select More Options […] and from the dropdown menu select Open in SharePoint:
It will take you to a new tab in your browser that will look something like this:
The newly opened window will show you all of your teams with their channels, so from there choose the new destination and click Move here.
At the bottom of the new window, you will notice a box that says Keep sharing with the same people. If you select this option, the people who previously had access to the file in its original location, will continue having access to it and they will be notified when the file is moved.
Alternative methods of moving files
Oftentimes, multiple teams need the same set of documentation such as the company code of ethics, execution playbooks, proposal templates, or guidelines on requesting vacations and other purposes. You could upload them manually to each relevant channel or copy/move them around constantly.
To save your time and to properly structure your digital workspace, you can use Collaboration Templates by nBold. Instead of searching for the documents and copying them, you can have a template with all the needed content from which all the files and folders will be copied to new teams.
With nBold templates, you can copy files and folders for both standard and private channels.
Here is a brief guide on you can build a Microsoft Teams Collaboration template with files and folders:
- Create the original team

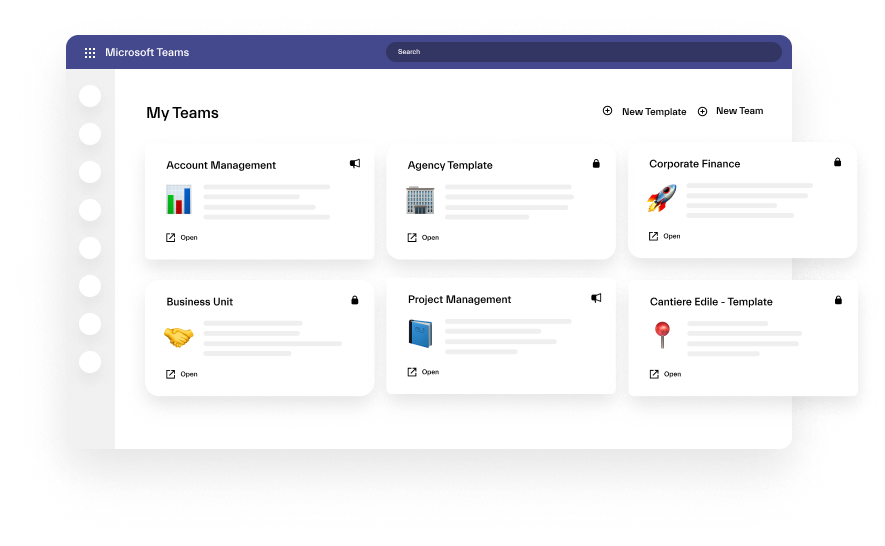
In the image, the template is created for project management but you can do it for any other use case. Once the team is created, add all the relevant channels.
- Upload the documents
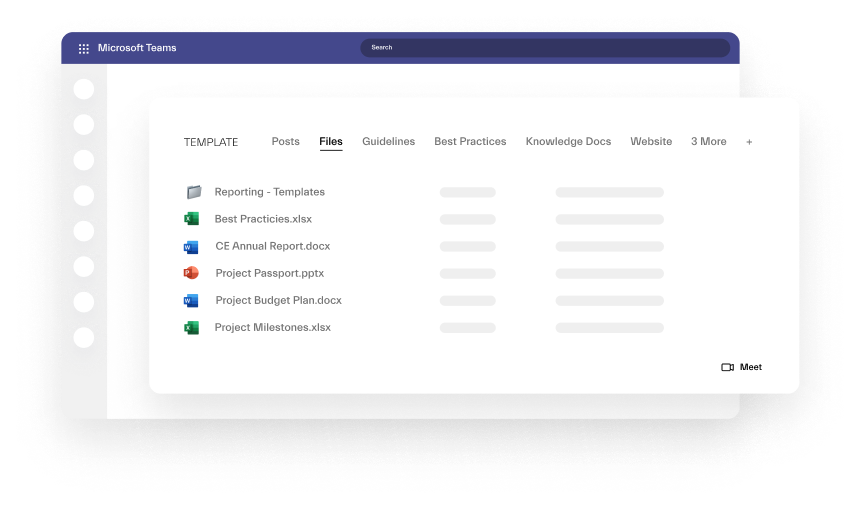
This is when you add all the documents that future teams created from this template will need. It can be contract templates, proposal templates, playbooks, guides for the buyer, etc. Add all relevant documents in the Files tab. Or ad a SharePoint document library where all project documentation is stored.

- Create the template
Open the nBold app, go to Catalog and click on +New template.

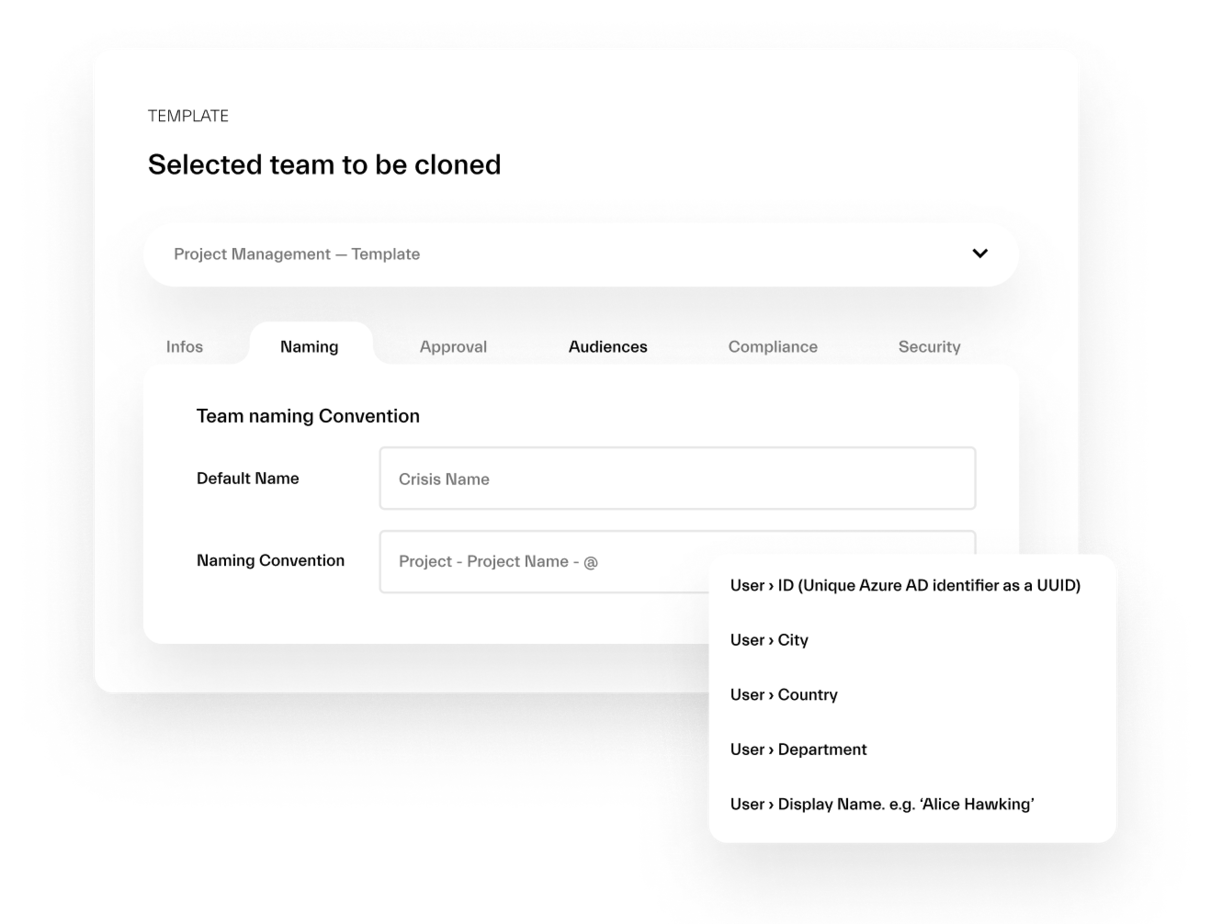
From there you choose the team that you want to turn into a template, so choose the one that you created during the previous steps. Once you select it, you will be able to configure the right governance policies.

You may choose to set up a Naming Convention, Approval workflow, Audience targeting and Security policies such as Permanent Owners and Members. Learn more about Teams Governance here.
The ability to move files and folders proved how efficient and productive Microsoft Teams is. The collaboration platform strives to cover all different aspects of the user’s experience. Moving files and folders is not a simple process. Although the steps to perform the activity are easy, its effects are beyond normal.
